Recently, I was leading a Yin Yoga teacher training, and one of the trainees shared something with us that really highlights some of the misperceptions out there about Yin Yoga. She said that she had been emailing with a fellow yoga teacher friend about her plans for the weekend – studying Yin Yoga – and her friend’s response was something like, “Why would you want to do that? Yin Yoga is dangerous.” Apparently, she had heard that one doesn’t use props in Yin Yoga, and reasonably concluded that it could be unsafe to practice that way. The problem with this assumption is that props are (and should be!) a regular part of the Yin Yoga practice.
2022 Update: Hi everyone – Thank you for visiting and reading this blog post! If you’re interested in more, my current website is movedtomeditate.yoga. I still teach Yin Yoga (with props, of course!), and you’ll find more helpful and inspiring mindful yoga resources there. For example, you might enjoy this Moved To Meditate Podcast episode “Yin Yoga with Props: Is This Even Controversial Anymore?”. Ok, back to the original article! Thanks again for reading. 🙂

My home practice & teaching space, complete with lots of props!
Somehow this myth that props are not to be used in Yin Yoga has gained a real foothold in the yoga world. I have a few theories. One is that some Yin teachers downplay the use of props in order to make the distinction between Yin and Restorative. Personally, I think there are more substantial differences between the two styles, as I wrote about here. Secondly, flexible people are often drawn to Yin Yoga, and they may need fewer props, so Yin may have become associated with how the practice looks when really bendy yogis do it. Third, Yin Yoga can attract certain yogis that we could lovingly describe as “sensation junkies” (no offense intended if you have tendencies in this direction). For some, it is difficult to back away from that really strong edge of sensation, especially if they dig that strong stretch, but in actuality, this is a very YANG way to practice YIN yoga. For them, using props changes the practice, because they will have to learn to love the pose with a little less emphasis upon intensity.
In case you don’t want to take my word for it, here’s some advice from Sarah Powers, who is one of the originators of Yin Yoga, along with Paul Grilley. She writes,
“There are three main tenets that help nourish the joints in a yoga pose. The first is to come into the chosen shape to an appropriate edge. This means coming into poses nonaggressively and sensitively, allowing the breath to remain slow and unlabored so we can detect the appropriate depth of sensation that we feel we can tolerate. If we attempt to take on too much intensity too soon, our inner state – or mood of resistance – will actually hinder the chi flow, causing more energetic disruptions…If we are working on an area that is fragile, injured, or hypermobile, we need to do two things. First, we should merely suggest the shape, coming into the pose just enough to stimulate chi flow without any feeling of strain. Second, we need to remain highly focused on the sensations promoted by the pose, thereby refining our meditative attention, while relaxing the rigidity around the painful joint. Of course, we may also need to use props; allowing for modifications and variations to support damaged or destabilized areas.” (p. 25 Insight Yoga)
So, there you have it! Certainly, when I’ve practiced with Sarah Powers and Bernie Clark, both are proactive about offering props to students. This idea that props are forbidden in Yin is not coming “from the top,” so to speak. And, while Sarah is mostly talking to those with injuries here, by extension, props can be an important ally in preventing injury. This is especially important for those with less flexible bodies – the props actually allow the average student to gradually and safely grow more flexible.
Practicing Swan Pose on a bolster can help make it more accessible, especially for anyone with knee issues.
Also, consider this – one of the main principles of Yin Yoga is to hold the pose without muscular tension around the target area of the stretch. The theory behind Yin Yoga has always been that this helps us to work with the connective tissues more, rather than only stretching the muscles. So, if a student’s body is resisting a pose due to inflexibility, and is in essence, “propping” itself rigidly in space, how can that student practice the pose with disengaged muscles? In order to correctly practice Yin Yoga, this student needs prop assistance, or they will never be able to release the muscles, relax the nervous system, and gain new flexibility. The prop is hugely helpful in creating the conditions to allow a passive and thorough stretch in this situation.
Most of the students I teach are not super flexy yogis. They have real lives, real jobs, and real aches and pains. Not using props might work out OK if you are a 20-year-old gymnast (I was one once), but then again, it may tend to reinforce the muscle imbalances you already have, making you more flexible where you’re already loose and ignoring your tighter spots. This is one reason why I practice with props in my own personal Yin practice. It allows me to be more precise in where I am receiving the stretch.
Because I love lists, here are my six favorite reasons to use props in a Yin practice:
1) Make a passive stretch possible by avoiding muscular “propping.”
2) Ensure safe alignment.
3) Make the pose sustainable for several minutes.
4) Make it possible to experience the pose as a meditation, rather than distracting the mind with red-alert nuclear levels of intense sensation.
5) Practice with an appropriate amount of sensation (oops, did I say it twice?) to avoid overstretching.
6) Allow the pose to target the intended area of the body.
It is possible to overstretch…which is not very yin-like! Overdoing of any kind is missing the point of a Yin style practice. And, when we’re holding the poses for a long time, as we do in Yin, it is important that we’re in a good place. Otherwise, we could be creating imbalance, or harming our ligaments. (I’ll write more about the ligaments one of these days – talk about another area of misunderstanding in Yin Yoga!)

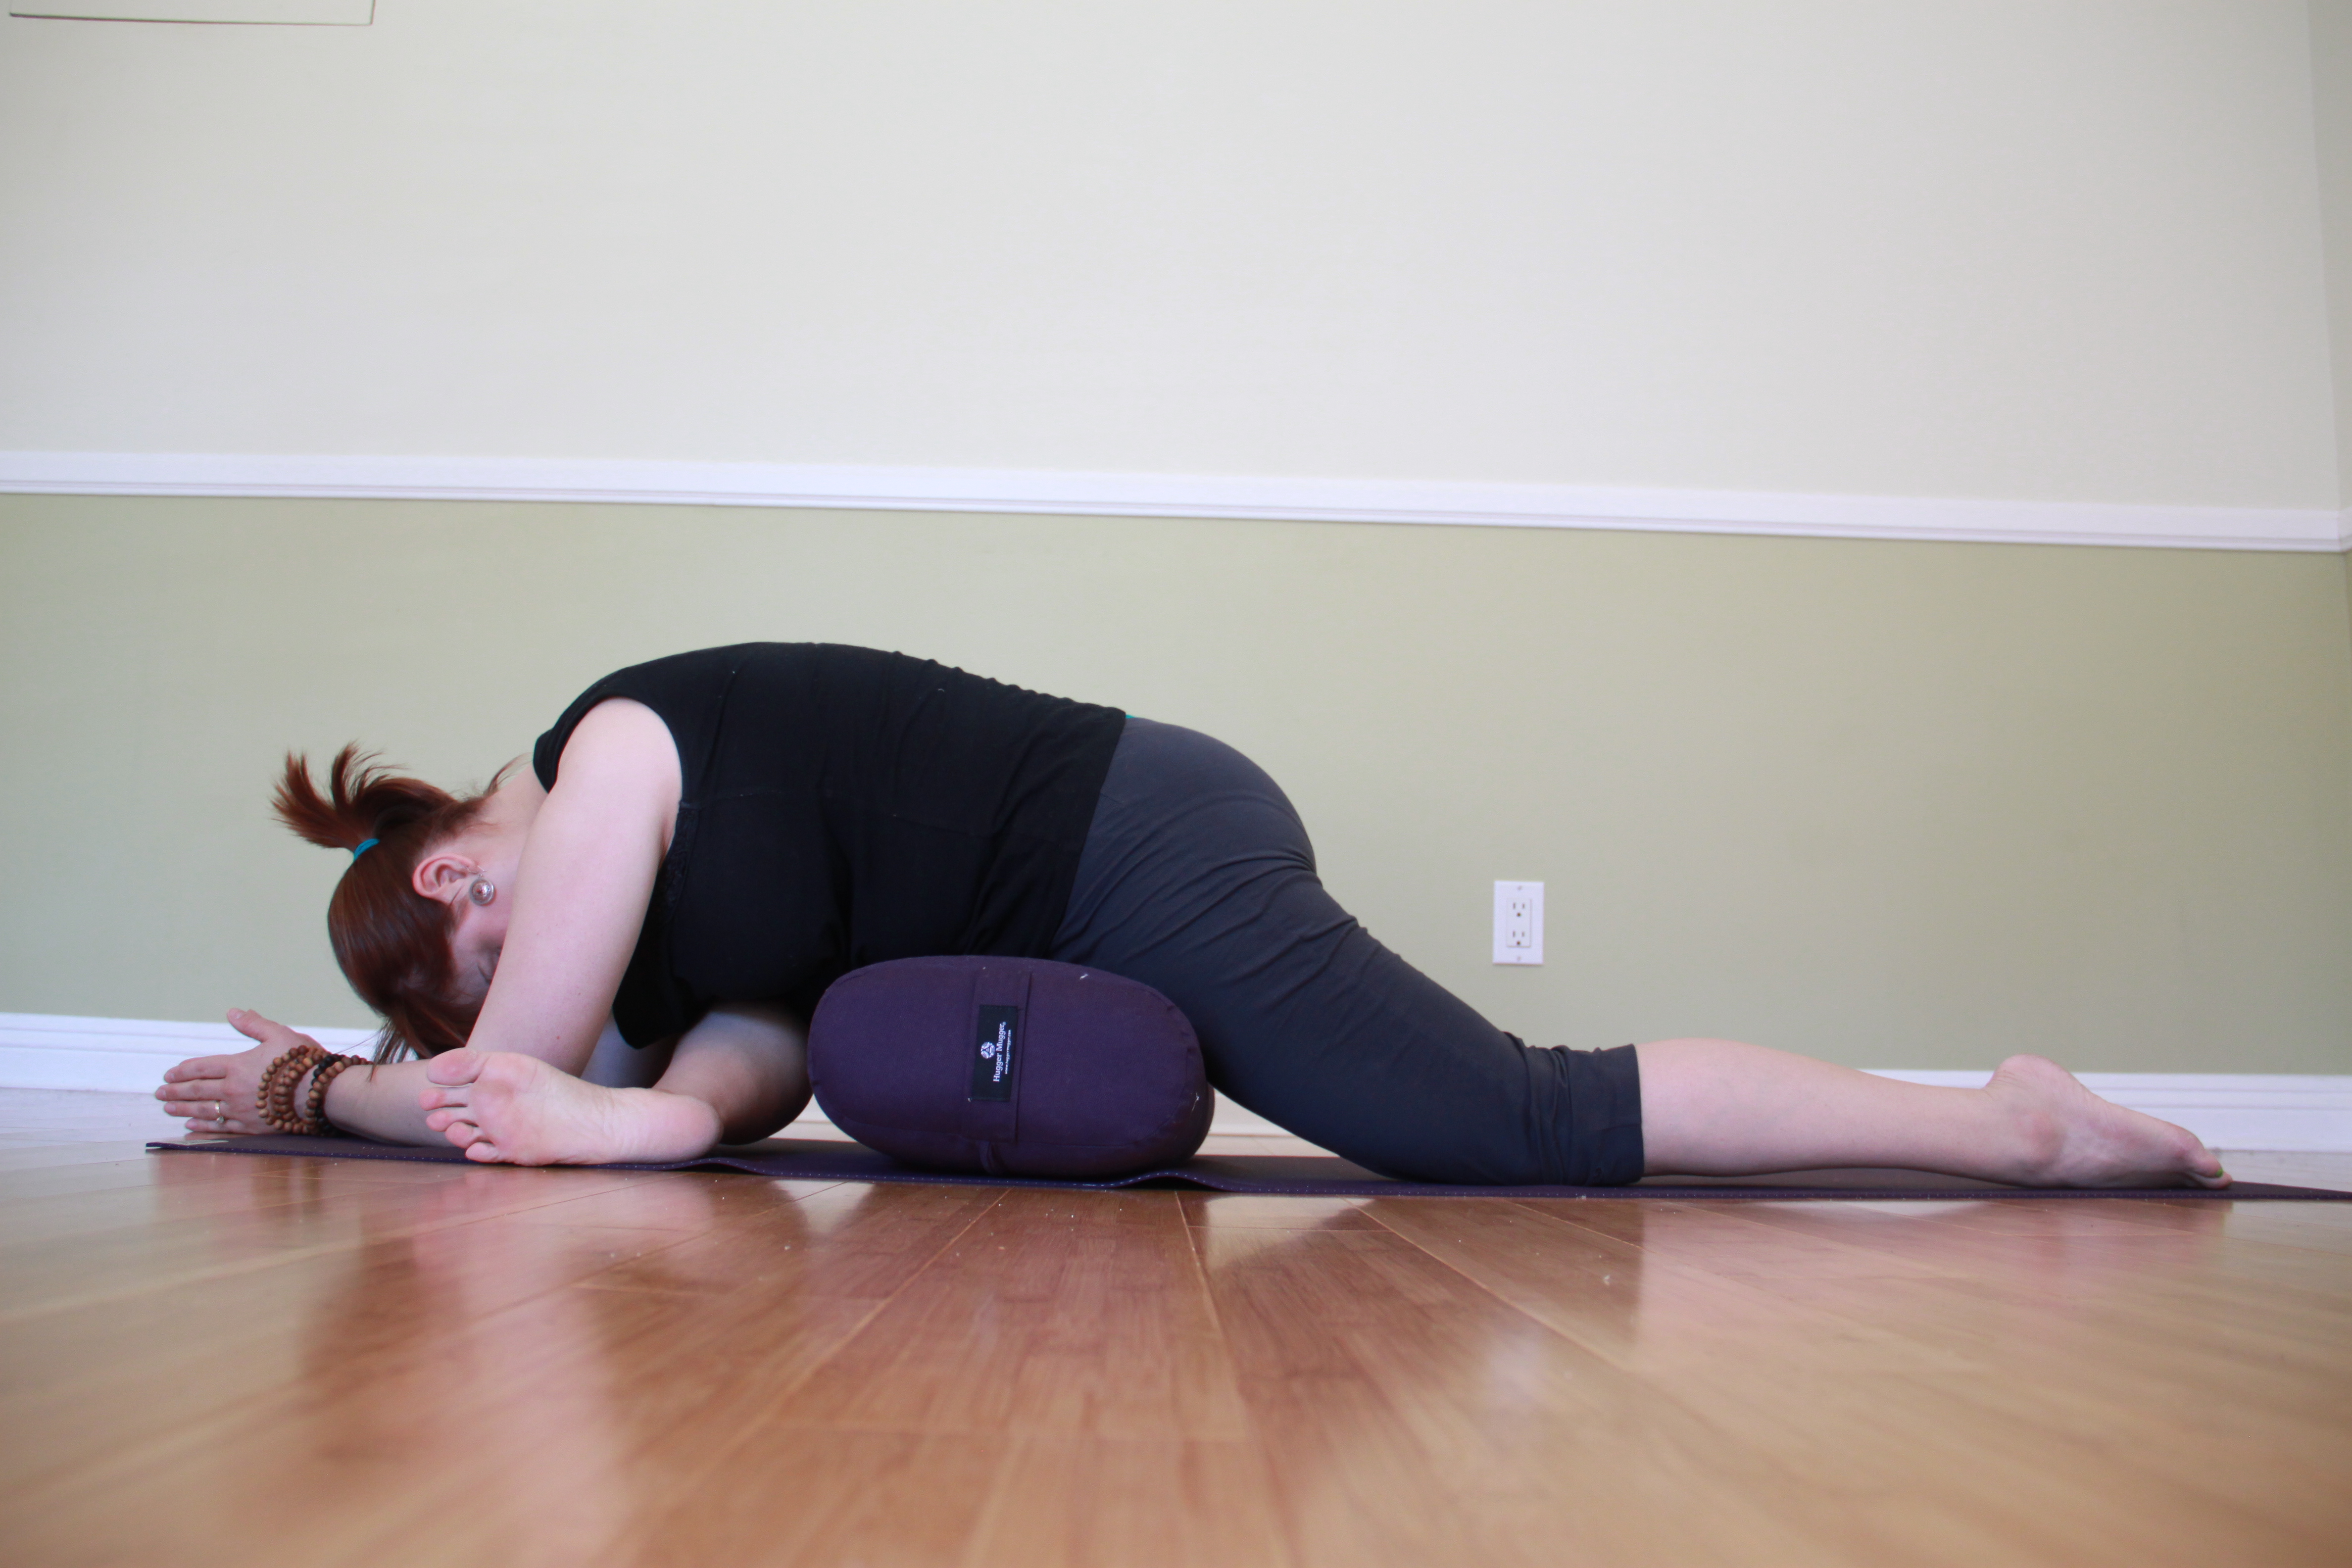
This is my favorite way to practice Snail Pose.
If you come to my class, I’m not going to force you to use a prop, but I will point out when I think a blanket or a bolster would be helpful. Not all students need a prop in all poses, and the point is not the prop for the prop’s sake. The point is accepting support when you need it. Most people are not flexible enough to practice Yin Yoga effectively without some support. Don’t struggle endlessly with the pose, or spend your time hanging out in a place of pain or potential injury. Work creatively with props as a part of your self-compassion practice, and embrace the support. You might soon discover that the kinder, gentler approach brings more lasting change to your body.
I’ll leave you with some more advice from one of the leading Yin Yoga teachers. Here’s a post from Bernie Clark about using props in Yin Yoga, including a helpful video explaining some of the ways you can employ blankets, bolsters, chairs, and more. Enjoy!